Tuesday, 13 December 2016

Frugal countdown to Christmas...Day 13...Oreo Truffles

Oh my goodness, these are amazing!!! Warning, if you are on a diet, do not make these! They are incredibly delicious and melt in your mouth. These are officially being added to my list of  Christmas treats to make every year. They are a messy to make and I really need to work on my chocolate dipping kills, but they are worth every bit of effort it takes to make them.  You only need 3 ingredients...

* 3 packets of oreos (42 oreos) 
* 1 packet of cream cheese, softned
* 400g milk chocolate melts


1. Place oreo's in food processor until it has turned to crumbs.
2. Place oreo crumbs and cream cheese in a bowl and beat until well combined.


3. Roll into small balls and place in the freezer for 10 minutes.
4. Melt chocolate melts on high for 1 1/2 minutes and stir.


5. Drop balls into chocolate until coated and place on a tray. 


 6. Place in the fridge to set. 


Recipe adapted slightly from Snack works


Enjoy, 
Kylie xx


Monday, 12 December 2016

Frugal countdown to Christmas...Day 14...Christmas choc pretzel Cookies

I have always had a massive sweet tooth, but the older I get, the more I'm enjoying savoury food. Now put the 2 together and I'm in taste bud heaven! These cookies are the perfect mix of sweet and savoury and a cookie that everyone can enjoy. Not to mention, yet another frugal recipe. Here's what you will need for these delicious cookies...

Ingredients
115g butter, softened
1 cup brown sugar
1/2 cup white sugar
2 eggs
1 tsp baking soda
2 1/4 cups plain flour
1 cup red & green M&M's 
1 cup roughly chopped pretzels

Instructions
1. Preheat oven to 190 degrees Celsius.
2. Line baking trays with baking paper.
3. In a large bowl, beat butter, sugar and eggs, until well combined.
4. Mix in baking soda & flour.
5. Stir in M&M's and pretzels
6. Drop 2 tablespoons of cookie dough onto the trays, leaving room for them to expand.
7. Bake for 10-12 minutes or until they are lightly golden brown.

Recipe slightly adapted from glitter n spice


 My Christmas cookie jar is finally full again...Yay!


Enjoy, 
Kylie xx


Sunday, 11 December 2016

Frugal Countdown to Christmas...Day 15...Pom Pom Garlands

I love pom poms! I think they are so cute and when you make them into a garland, they are perfect in any room from a little baby's room to a living area. I recently made some for Christmas and I'm loving the colour combos! You can make them in any colour, so if you are different from me and are not fond of the traditional Christmas colours, then you can make them in whatever colours you love. 


These are incredibly cheap to make and are not hard at all, but I must admit they are a little fiddly & time consuming to make. They are totally worth the time though!
If you are keen to make you own, then here is what to do...

You will Need
* A ball of wool in each of your desired colours 
* Scissors
* 1 Skewer
* Sticky tape

How to make it

Start by wrapping the wool around your 4 fingers.

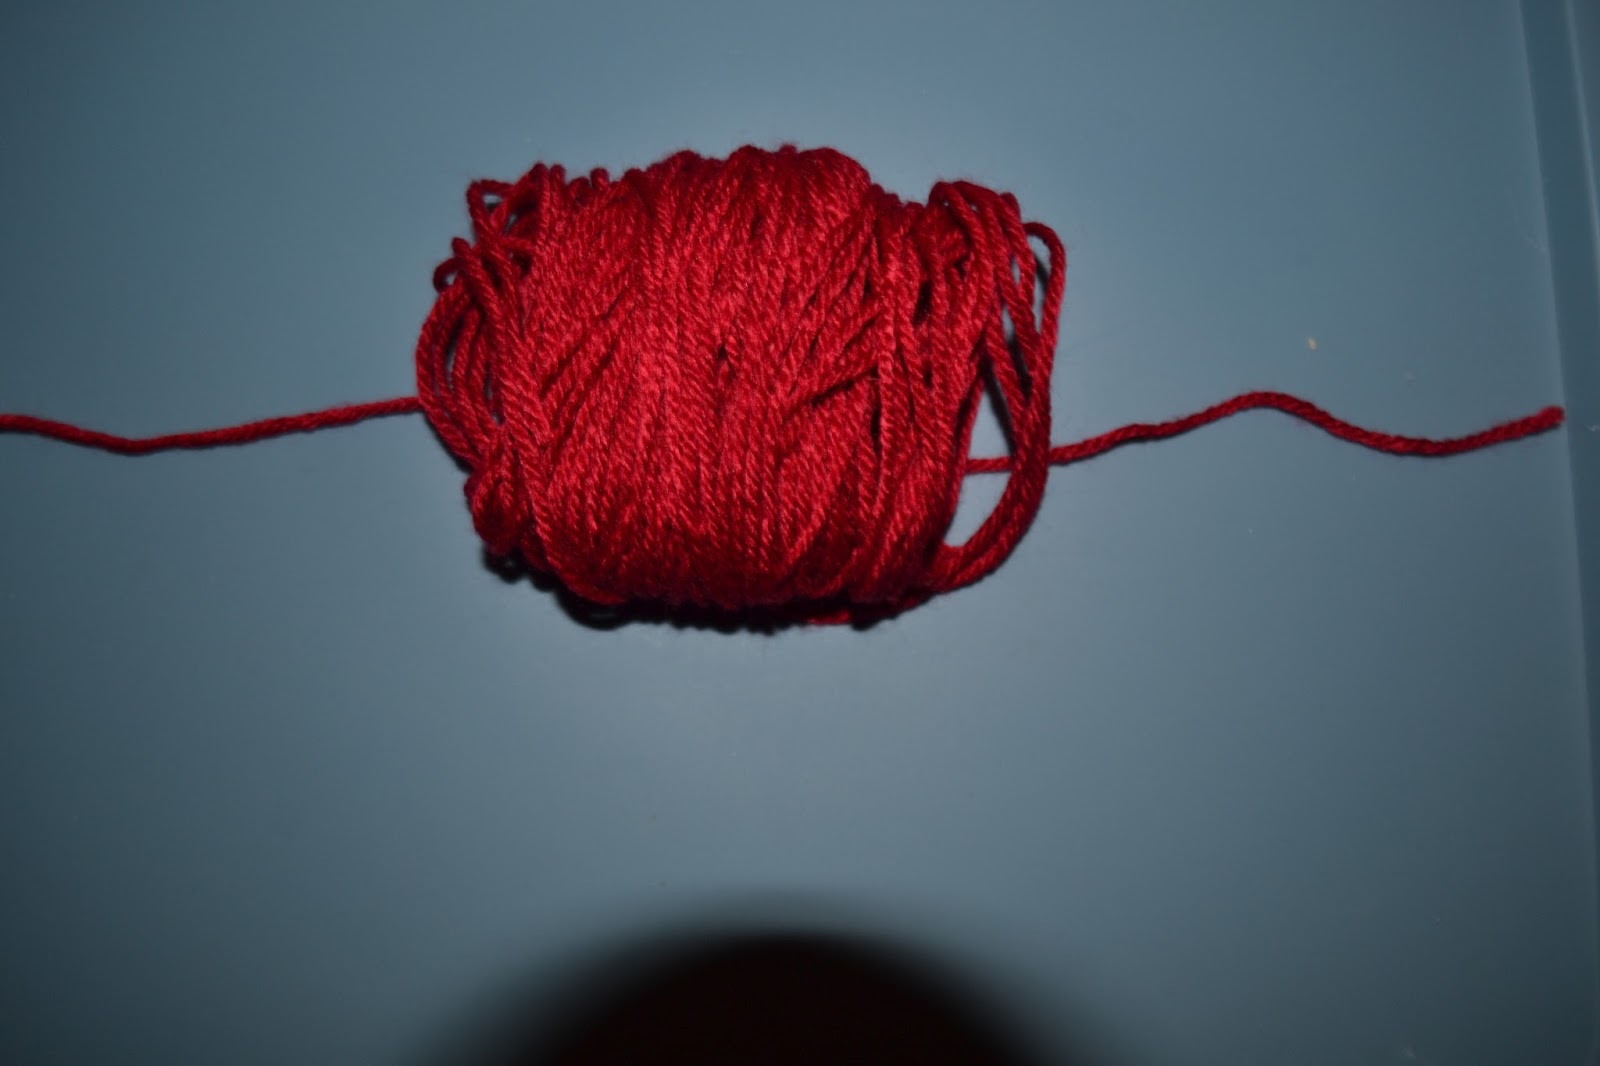
Continue till you have wrapped the wool 120 times around.
By the end it should look like this.

Gently remove the wool from around your fingers. 

Place the wool on top of 1 strand of wool  measuring 15cm. 

Tie the strand of wool tightly around the gathered wool and double knot it. Please note that if it is not tied tightly, it will not work.

As you pull the wool tight, the ends will meet and form a circle.

 Cut right around the edge of the circle.

 And what you will be left with is a shaggy pom pom. You can choose to leave it like this .

 Or if your like me, I prefer mine to be neat & fluffy, so you will need to trim the pom pom evenly until it gets to your desired length.

 To thread it into a garland, take a skewer and wool.

 Attach them together at the top with sticky tape.

And start threading through the pom poms, one after another. You can space them apart however you like. 

 Make sure to leave enough wool at each end to hang the garland.


Kylie xx


Saturday, 10 December 2016

Frugal Countdown to Christmas...Day 16...12 Days of Christmas Advent Calender

I normally do a Advent Calender with the Kid's for the whole month on December. I feel like this has been our busiest Christmas so far and I just didn't quite get to doing  the whole month with them. They do have their chocolate Advent Calenders, so they are pretty happy with that. But we love doing something as a family, so this year I'm just going to do a Advent calender countdown for the 12 days leading up to Christmas. 
We are going to start on the 13th of December and go till Christmas Eve.
Here is a list of some of the things that we will be doing...
* Drive around to look at Christmas lights.
* Watch a Christmas movie
* Bake & decorate Christmas cookies
* Make Christmas ornaments
* And our most exciting one is going to the City for 2 days to look at the David Jones Christmas windows, all the Christmas decorations and the Christmas light shows and fireworks!


Along with these fun Christmas traditions, we want our kid's to remember the whole reason we actually celebrate Christmas, Jesus! So I found this awesome free printable. It is a 12 Days of Christmas Navity Printable. Each day there is a picture from the Christmas Story, as well as a little poem and a Bible reference that you can look up to correspond with each day. All you need to do is print them out, cut them up and place the 2 matching pieces in an envelope. You should then have 12 seperate envelopes. You can choose whatever order you would like them to go in and number them 1-12. I personally am going to make sure that number 12 is Jesus, so that I'm building up to the main focus and reason for celebrating Christmas. If you would like to join our family on this little nativity journey, then click on  12 Days of Christmas Nativity Printable from "Happy home fairy" and print away.

Enjoy, 
Kylie xx

Thursday, 8 December 2016

Frugal Countdown to Christmas...Day 17...Kid's Activity Sheets

I'm feeling a little under the weather today and my little man is too. So after attempting some outside play, which did not go well with the both of us, we have headed in for some very low key Christmas activity sheets. Then I think we will crash on the lounge and watch a Chrissy movie. 
Here are some awesome free printables that we have printed, that your little's can to do too. Please remember that they are for personal use only. 


Enjoy,

Kylie xx


Wednesday, 7 December 2016

Frugal Countdown to Christmas...Day 18...Christmas Punch

Yesterday was a very very busy day in our household. Last night we in the midst of our busyness and our totally nutritious toasted sandwiches that we had for dinner cause that's all I had time to make, I made a very quick Christmas drink that the whole family can enjoy! You only need to buy 3 ingredients and it was delicious.

You will need...
1 bottle Cranberry Juice
1 bottle Ginger Ale
Some green sprinkles
Some water

Here's what to do...
1. Put the water in one bowl and the sprinkles in another.
2. Dip the rim of your glass in the water and then straight into the sprinkles.
3. Pour Cranberry juice into the glass until it is half full.
4. Then fill the rest of the glass Ginger Ale.

And that is it


Isn't my boy so cute!He loved it!

Enjoy,

Kylie xx


Tuesday, 6 December 2016

Frugal Countdown to Christmas...Day 19...Christmas Spiders

Today I'm sharing with you a delicious kid friendly, budget friendly and time friendly Christmas treat. 


Recipe adapted from lemon tree dwelling

Here is all you need to make it
 - 225g white Chocolate melts ( I used cadbury as I prefer their chocolate & got it on sale for $3)
            - 1 bag of fried noodles (Aldi packet 99 cents)
         -1/2 cup granulated nuts (no name paket $1.29, but only used 1/4 of pack)
- Christmas sprinkles (about $1 worth )


1. Combine the fried noodles and nuts into a bow
2. Place melts in a microwave safe bowl and melt on high for 1 minute, then stir
3.Pour chocolate over the noodle/nut mix and gently stir until well combined. 
4. Spoon onto trays lined with bake paper. I made mine dessert spoon size, which made about 20.
5. Cover the tops in Christmas sprinkles
6. Place in the fridge to chill for an hour. 

They only cost me $5.30 to make and were well enjoyed by our family & our little guests that we had over. A perfect little Christmas treat.

Enjoy,
Kylie xx